Thanksgiving is right around the corner and though I like turkey and stuffing, it’s pumpkin pie I crave. The classic baked burnt-orange pumpkin pie isn’t what I grew up eating. No, the pie I crave is a modestly spiced, creamy, no-bake, marshmallow pumpkin pie with a graham cracker crust. My mom made this every year and I always loved it but for some reason hadn’t made it myself. I decided to give it a try (with my own spin of course!) and was not disappointed.
No-bake pumpkin pie recipes are prolific on the internet and for good reason. First off, because they aren’t baked, there isn’t any worry about unseemly cracks on the top of the pie. Another plus? The no-bake version leaves my oven free to use for other Thanksgiving dishes.
The original version uses a premade graham cracker crust and Cool Whip. I wanted to up the flavor in the crust by making a homemade version with brown butter. For the pumpkin filling, I replaced the Cool Whip with freshly whipped cream. These simply changes amped up the flavor without over complicating an easy-as-can-be pie.
There are a few tips to note regarding this pie: be sure to chill for at least four hours or overnight before serving. You’ll be able to tell that the pie is set by pressing on the center. It should be firm to the touch. Another tip for this pie is to make sure to choose the right size pie plate. The crust recipe makes enough for a 9-inch pie with 1-inch sides. A taller sided or larger pie pan will need extra crust and filling. I would 1.5x the recipe for a different sized pie.
The end result is a perfectly creamy pumpkin pie to remember for years to come.

What is Brown Butter?
Brown butter is when the butter solids are browned, usually in a saucepan over low heat.(surprising, I know! It imparts a nutty flavor that compliments the warm spices in the pumpkin filling.
Tips for Making a Graham Cracker Crust
I’ve made my share of crumbly graham cracker crusts and have learned a thing or two along the way. The main mistake is to not add enough butter. It should pack like wet sand and not be crumbly when pressing into the pan. Thankfully it’s an easy fix. Just add more butter! The other tip is to spray the pie tin to help the crust not stick. Lastly, I like to bake my graham crusts, though you don’t have to, I like how it ensues a firm crust and helps fend off moisture.
I used these adorable dish covers throughout the whole process (thanks Halo!)
No-Bake Pumpkin Pie
Graham Crust:
- 10 tablespoons unsalted butter
- 190g Graham cracker crumbs (12 sheets)
- 2 tablespoons brown sugar
- ¾ teaspoon kosher salt
Pumpkin Filling
- 1 cup (244g) pumpkin puree
- 1 teaspoon cinnamon
- ⅛ teaspoon nutmeg
- Pinch cloves
- ½ teaspoon kosher salt
- 10 ounces marshmallows
- 1½ cup (4 ounces) heavy whipping cream, divided
Whipped Cream Topping
- 2 tablespoons powdered sugar
- ¼ teaspoon kosher salt
- 1 teaspoon vanilla extract
Directions:
- Brown butter: Melt butter in a small saucepan set on medium heat and stir often. Once melted, simmer the butter until the butter solids are brown on the bottom of the pan. The butter foams and then the butter solids will brown, about 5 minutes. Transfer to a small glass measuring cup to cool.
- Make crust: Heat oven to 350℉. Break graham crackers into the bowl of the food processor and process until fine crumbs, about 15 seconds. Add sugar and salt and pulse to combine. Drizzle most of the brown butter into the food processor while it’s running and thoroughly mix. Stop the processor and use a flexible spatula to scrape the sides of the bowl and then squeeze the mixture and see if it holds together. If not, then add another tablespoon or two of the brown butter and pulse again. The graham mixture should look like wet sand. Remove the blade from the food processor and take handfuls of graham mixture and press it into a 9 inch pie pan. I find it helpful to start with the sides and work my way around the pan and then finish with the bottom. Press using steady, gentle pressure until the pan is covered evenly. Bake for 8 to 10 minutes or until it is golden brown throughout and firm to the touch. Let cool on a wire rack for about 30 minutes.
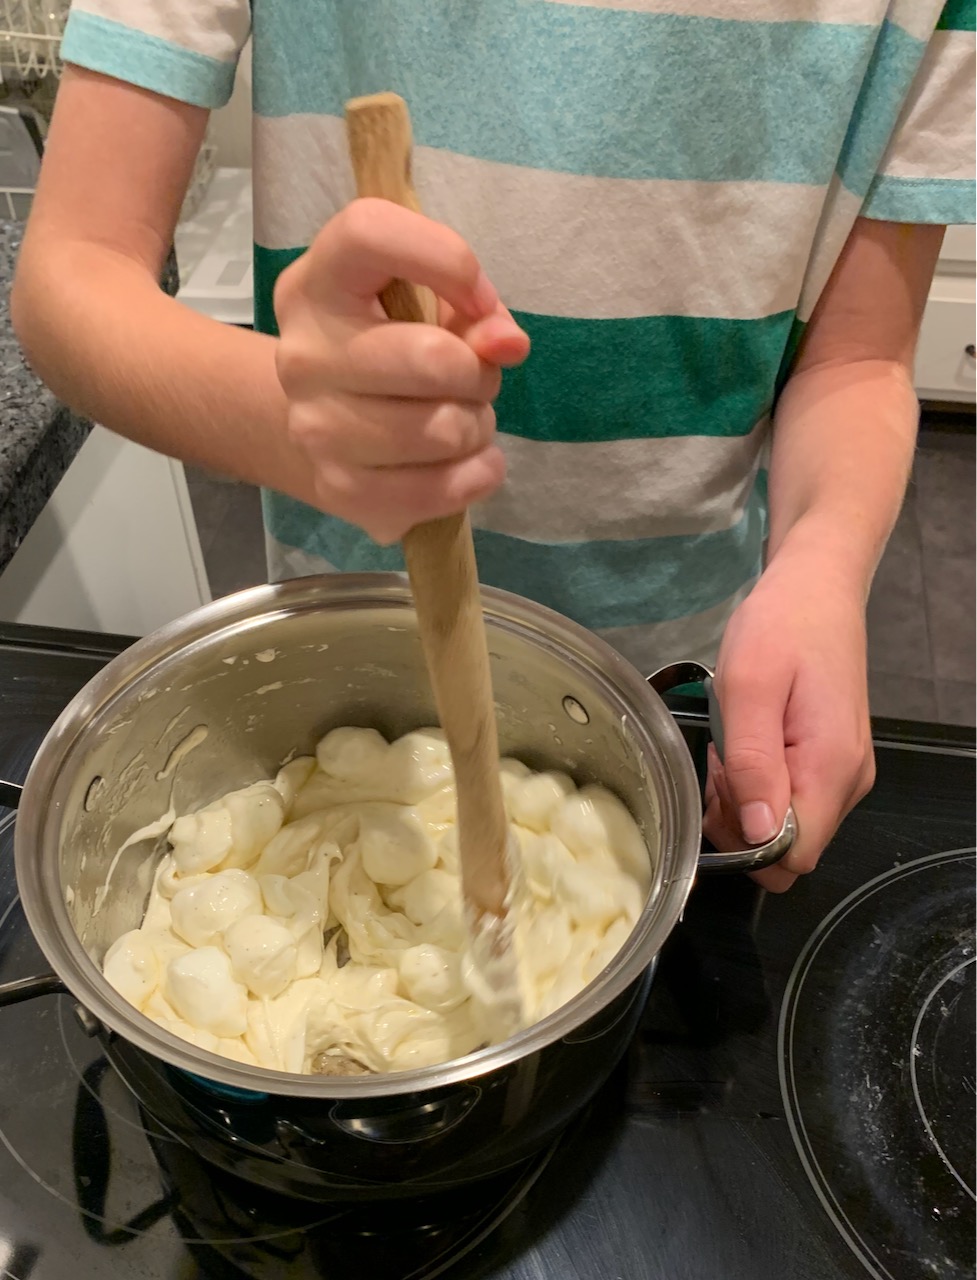
- Pumpkin filling directions: In a medium saucepan, whisk the pumpkin, cinnamon, nutmeg, cloves, and salt. Add marshmallows and cook, stirring often, on low until the marshmallows are melted. Transfer to a medium bowl and set aside to cool. In a small bowl, use a hand mixer to whip ½ cup heavy cream to stiff peaks, about one minute.
- Assemble pie: Fold whipped cream into cooled pumpkin mixture. Fold until the mixture is homogeneous. Scrape filling into the cooled graham crust and spread evenly. Cover and refrigerate for at least four hours. Press the center of the pie to make sure it is firm to the touch before removing from the refrigerator and serving.
- Finish and serve: Use a hand mixer and whip the remaining 1 cup of heavy whipping cream, powdered sugar, salt, and vanilla extract to stiff peaks. Cut pie into 8 slices. For the cleanest cuts, cut while the pie is cold and wipe off knife in-between each cut. Serve pie either at room temperature or chilled alongside a spoonful of whipped cream. Leftovers will keep for 3 days if well-wrapped and stored in the refrigerator.